How to Install and Automate a Sliding Gate: A Comprehensive Guide
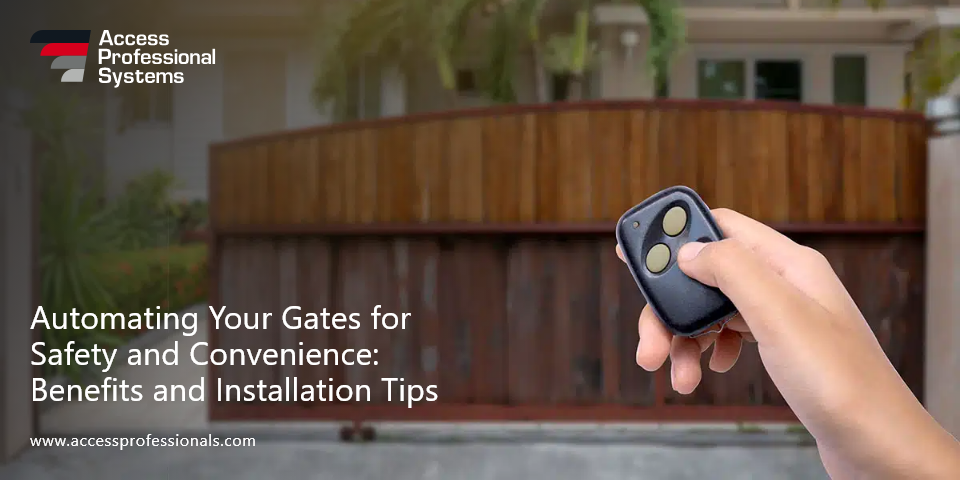
Are you Looking for a convenient and secure solution for your property? A sliding gate opener might be just what you need. Whether it’s for your business, a sliding gate provides easy access, enhanced security, and long-lasting durability. If you decide to automate the sliding gate opener, you’ll enjoy even more convenience, with the ability to control entry with a simple push of a button.
In this guide, we’ll walk you through the process of installing a sliding gate opener. From picking the right automatic gate opener to the installation steps, we’ve got everything you need to know. We’ll also cover the benefits of electric sliding gates and how to connect them to access control system for better security and ease of use.
Let’s get started.
How to Choose the Right Sliding Gate Opener
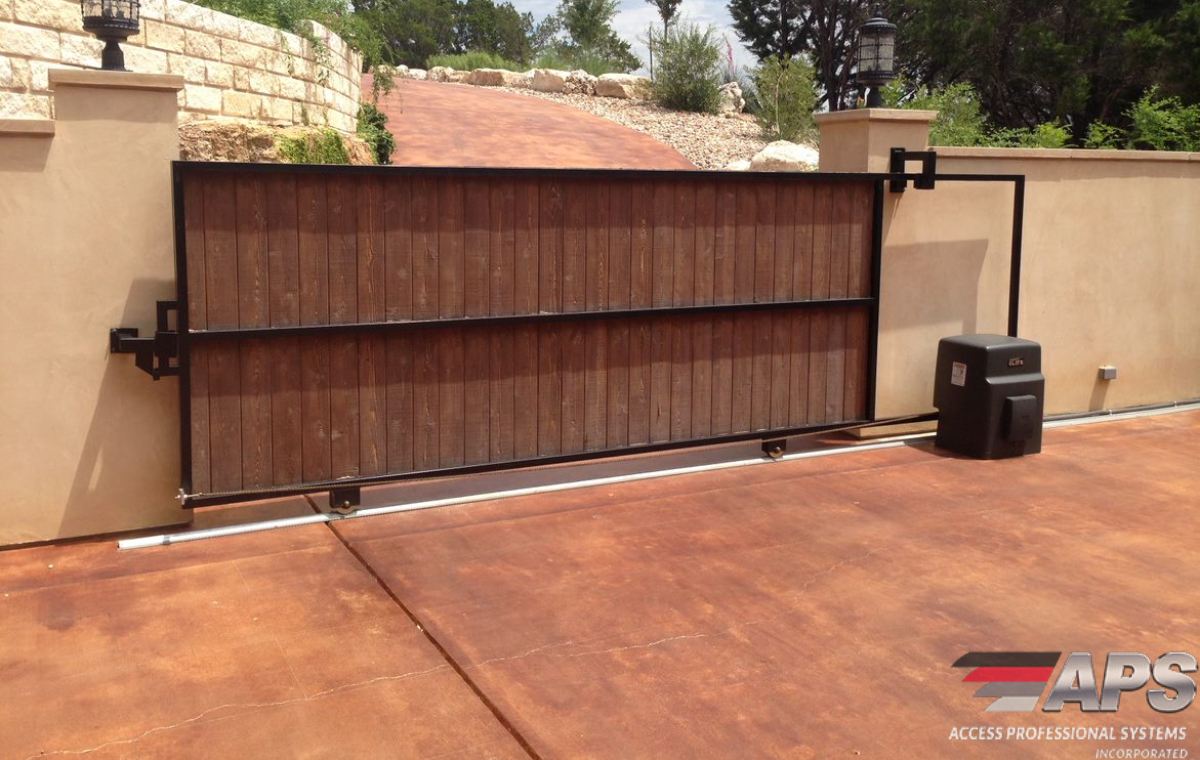
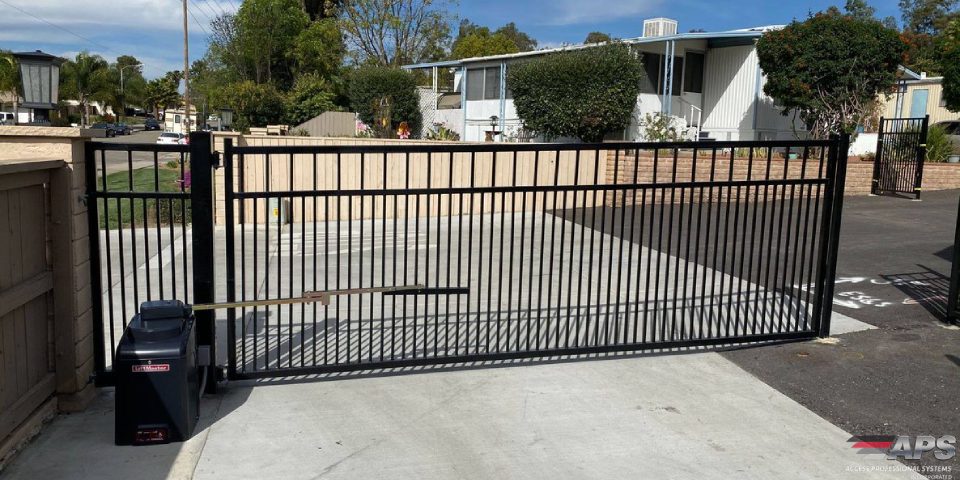
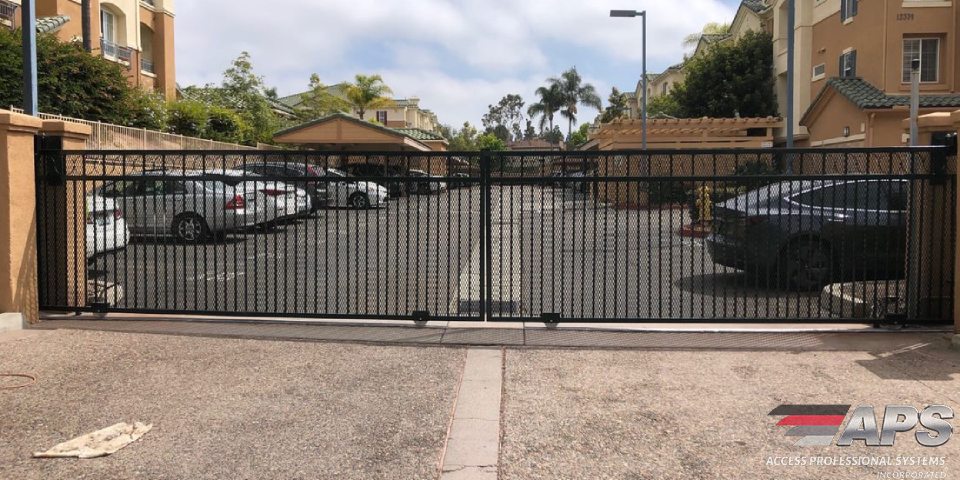
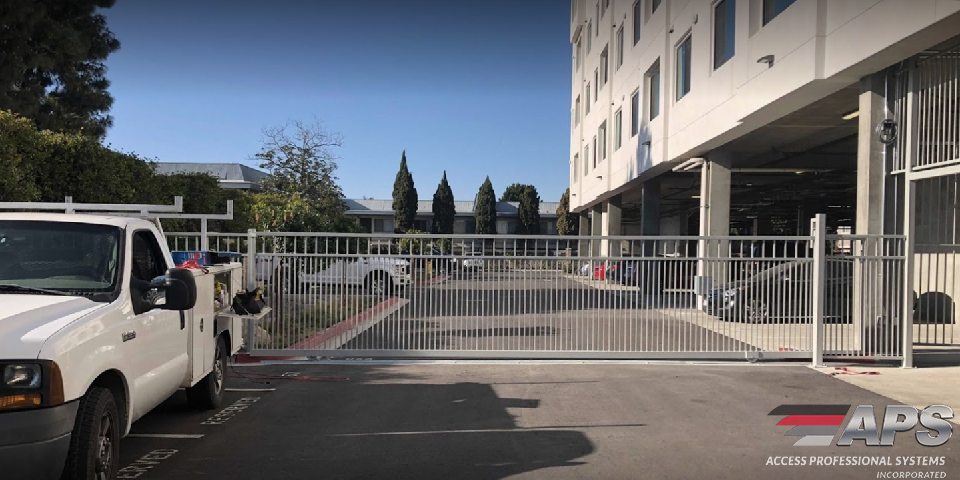
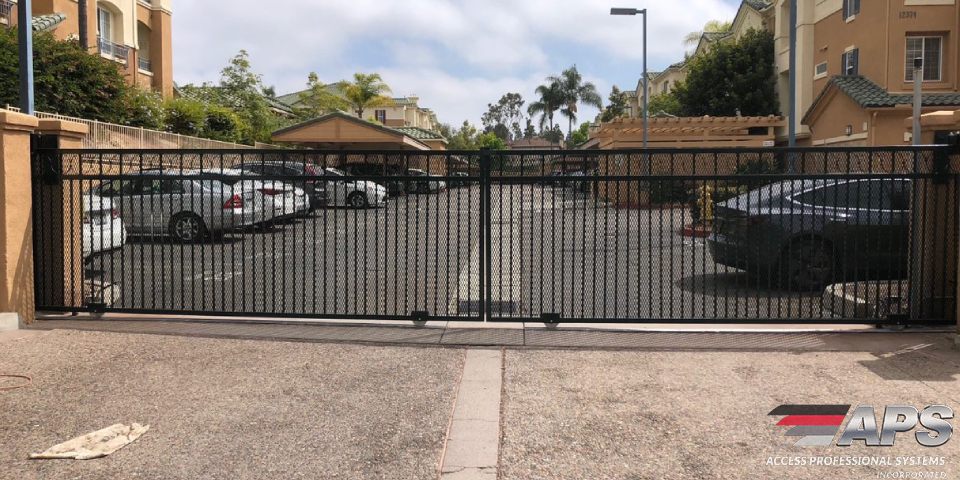
Sliding gates are a great choice for ventures and businesses because they save space. Unlike swing gates, which need a lot of room to open, sliding gates move along a track and are perfect for places where the capacity is limited. Plus, they’re more difficult to bypass than regular gates.
When selecting an automatic sliding gate opener, think about the weight and size of your gate, and how much power you need. Intern of accessibility, there are a few types to choose from:
- Chain-driven: These are reliable and work well for heavy gates.
- Screw-driven: These are quieter and more efficient, ideal for medium-weight gates.
- Belt-driven: These provide smooth operation and are commonly used for residential settings.
For smaller residential installations, a less powerful opener with a basic remote control will likely do the trick. For larger commercial doors, you may need a more powerful opener with added features like integration with an access control system. Picking the right opener ensures your gate works reliably for a long time.
Step-by-Step Installation of a Sliding Gate Opener
Installing a sliding gate opener might seem tricky at first, but with the right tools and instructions, it’s a manageable DIY project. Here’s a simple guide to help you through the process:
1. Prepare the Area
Before you start, make sure the area is clear and ready for the gate installation. The ground needs to be level, and there shouldn’t be any obstacles that could interfere with the sliding mechanism.
- Measure the gate opening: Double-check that there’s enough space for the gate to slide open fully.
- Check the surface: The track needs to be placed on a smooth, level surface for smooth operation.
2. Installing the Track System
The track is essential for the smooth movement of the gate.
- Position the track: Lay it out along the path where the gate will slide.
- Secure the track: Use anchor bolts or stakes to keep it in place.
- Align the track: Make sure the track is straight and level to avoid any issues with the gate moving smoothly.
3. Mount the Sliding Gate Opener
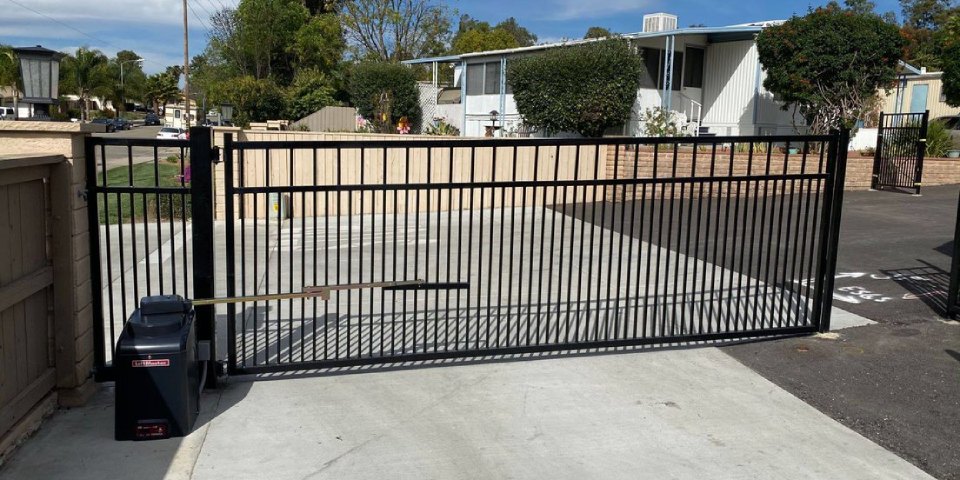
Next, it’s time to install the motor that will open and close the gate.
- Attach the opener: Mount the opener to a sturdy surface near the gate.
- Connect the motor: Follow the manufacturer’s instructions to attach the motor to the gate’s roller assembly.
- Align the motor: Make sure the motor is properly aligned with the track for smooth movement.
4. Wiring the Gate Opener
Now that the opener is in place, you’ll need to connect the power supply and wire everything up. Depending on the model, you may need to integrate an access control system or a remote control.
- Check the wiring: Make sure all the connections are tight and secure.
- Test the system: Run a test to ensure the gate opens and closes properly.
Once you’ve completed these steps, your sliding gate should be ready to go!
Adding an Access Control System
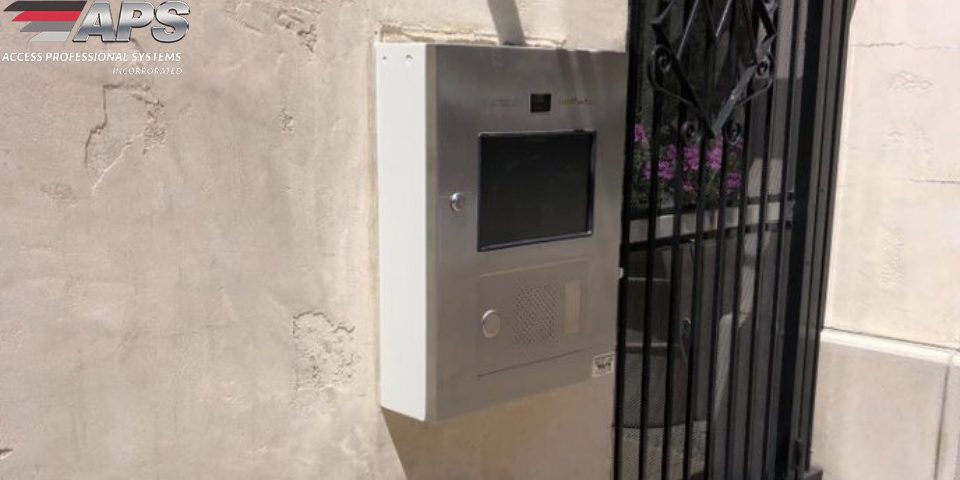
After installing your sliding gate opener, you can add an access control system to make it even more convenient and secure. This system will allow you to manage remote access and keep track of who’s coming and going.
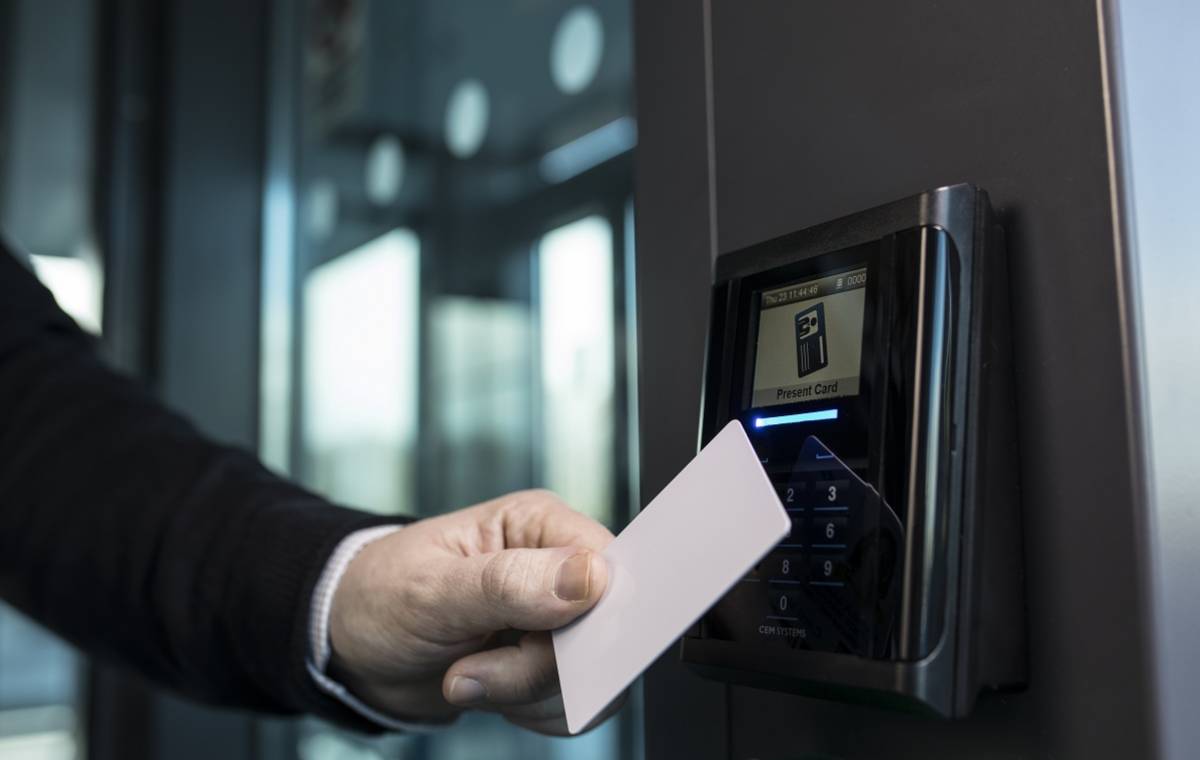
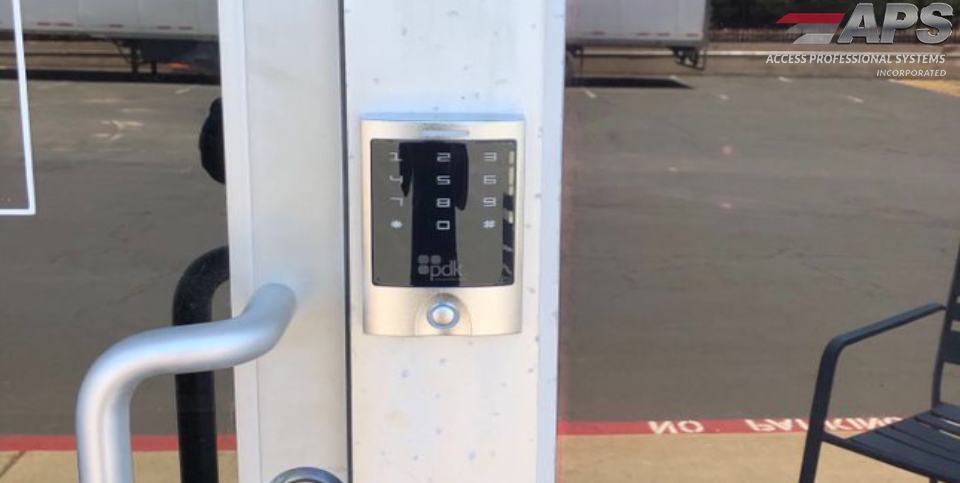
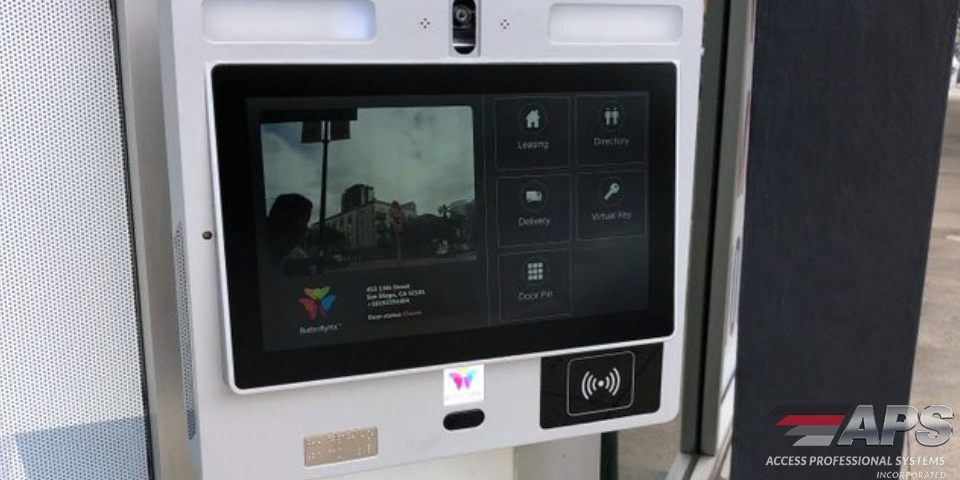
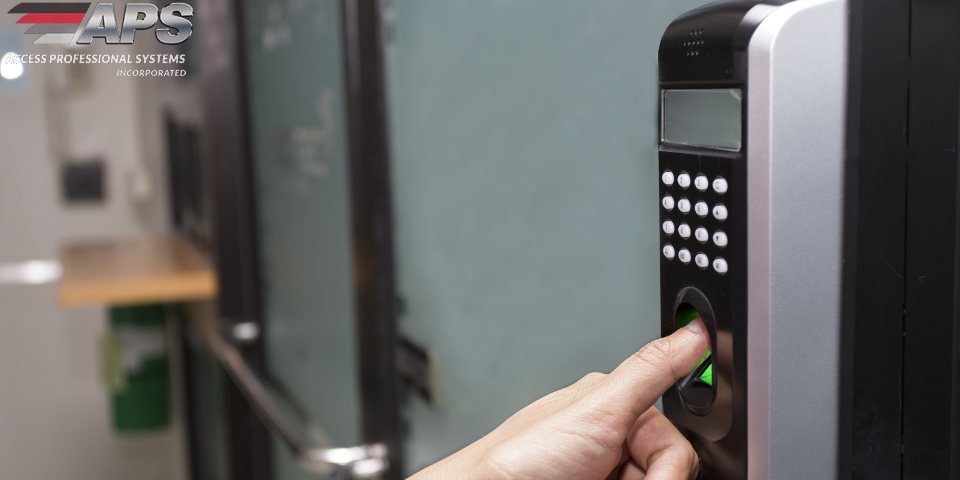
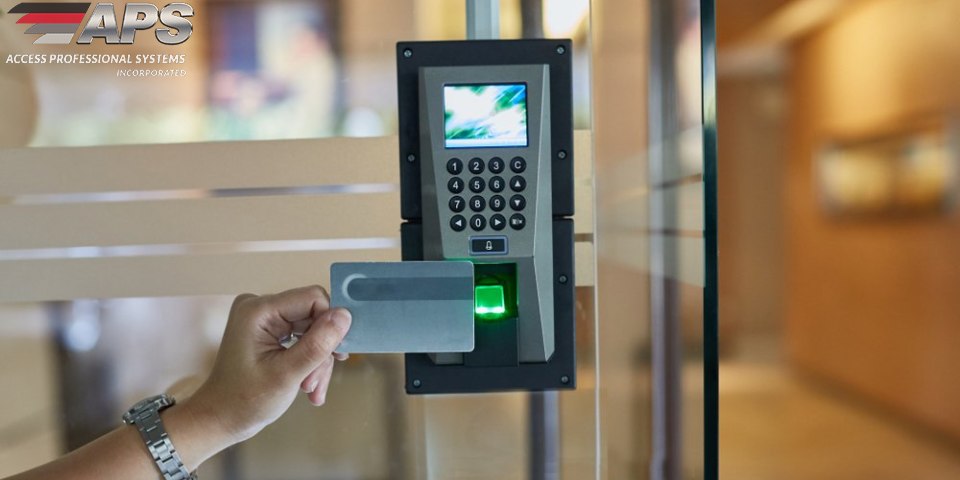
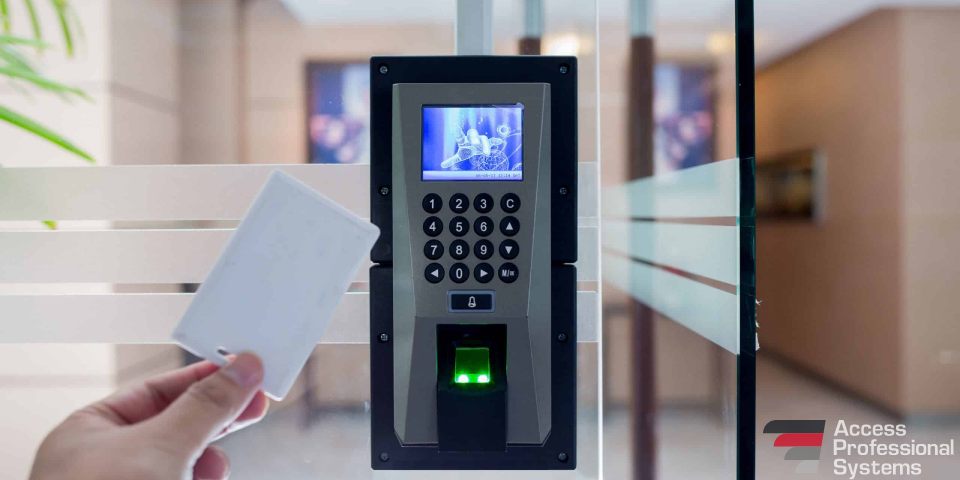
- Choose your access control system: Options include keypads, remote controls, RFID tags, or smartphone apps.
- Install the control panel: Mount it near the gate or entry point where it’s easy to use.
- Connect everything: Follow the instructions to connect the access control system to the opener.
Integrating an access control system is a great way to manage your residential or commercial sliding gate more efficiently. Features like remote access, security codes, and real-time tracking help make the system secure and easy to operate.
Conclusion
In a nutshell, Installing and automating your sliding gate opener brings plenty of benefits in both security and convenience. Whether you’re setting up a gate for your enterprise or business, the process can be simple if you follow the right steps and use the right equipment. Automated electric sliding gates provide access control, making it easy to manage your entry points without manually opening and closing the gate.
Share:
